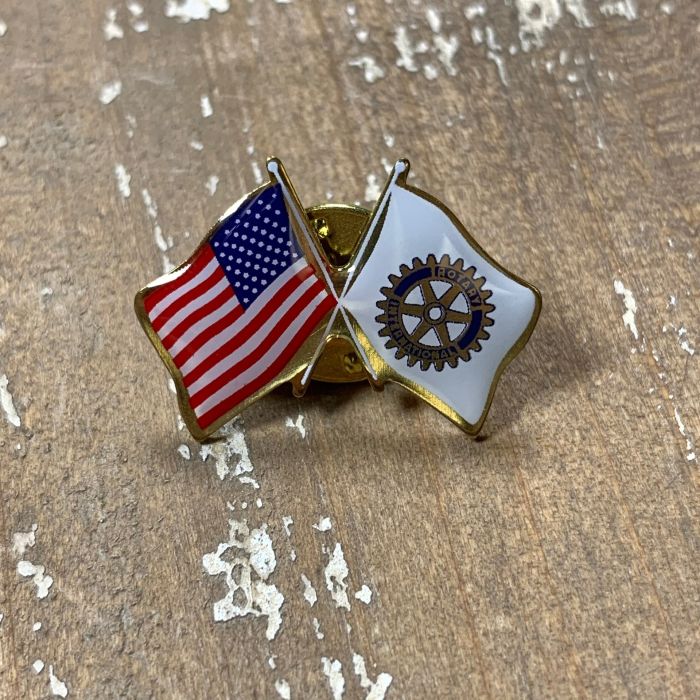
DIY Lapel Pins: A Step-by-Step Guide for Beginners
Lapel pins have become a symbol of expression, a way to showcase personal style, affiliation, or support for a cause. While some might purchase these mini pieces of art, many are venturing into the realm of creating their own. With 2024 being a year where DIY projects and creative expressions are more popular than ever, learning how to make lapel pins on your own can be a rewarding endeavor.
This step-by-step guide will walk you through the process, offering tips and tricks to ensure your DIY lapel pins turn out perfect every time.
Materials and Tools Needed
Before diving into the creation process, let’s gather some essentials:
Basic Supplies
- Pin backs: Metal or rubber backing to attach the pin to clothing.
- Base material: Metal, wood, plastic, or shrink plastic sheets.
- Design tools: Paper, pencil, markers, paint, or digital design software.
- Protective coating: Clear resin or a good quality varnish.
- Cutting tools: Scissors, X-Acto knife, or a laser cutter.
- Adhesive: Strong glue like E6000 or a hot glue gun.
Optional Tools
- UV Lamp: If working with UV resin.
- Heat Gun: Useful for speeding up drying times or working with shrink plastic.
- Digital Printer: For intricate or colorful designs.
Designing Your Lapel Pin
Brainstorming
Start by brainstorming a design that reflects your personality or message. It could be a favorite quote, symbol, or character. Sketch your ideas on paper or use a graphic design tool.
Finalizing the Design
Choose shapes that are simple yet striking. Intricate details can be challenging to cut and may not stand out as vividly. When satisfied, transfer your design to a sturdier medium, if necessary.
Creating the Base
Metal Base
- Cutting the Metal: Use metal shears or a laser cutter to shape your base according to the design. Smooth the edges with sandpaper to avoid any sharpness.
- Design Transfer: If using a digital design, print it out and use carbon paper to transfer the design onto the metal.
Plastic Base
- Shrink Plastic Sheets: These are fantastic for DIY pins. Draw or print your design on shrink plastic, cut it out, and bake according to the package instructions. The design will shrink and harden into a durable pin.
- Adhesion: Use a strong adhesive to attach pin backs once the plastic has cooled and hardened.
Adding Color and Personality
Painting
- Acrylic Paints: Ideal for adding color to wood or metal pins. Paint your design carefully and allow each layer to dry before adding another.
Resin Coating
For a professional touch, consider coating your pin with clear resin. This not only protects the design but also adds a glossy finish.
- Mix the resin according to your brand’s instructions.
- Pour a small blob onto the pin and spread it, ensuring it covers the entire surface.
- Use a UV lamp or allow it to air dry.
Digital Printing
For those who prefer a cleaner, more precise design, you can opt to print your design on sticker paper, cut it out, and adhere it to your base.
Attaching the Pin Back
No lapel pin is complete without the backing.
Choosing a Pin Back
- Metal Clutches: More secure but might need welding or a strong adhesive.
- Rubber Backs: Convenient and easy to attach with glue.
Attachment Process
- Apply a small amount of strong glue like E6000 to the back of your pin.
- Firmly press the pin back onto the adhesive and hold for a few seconds.
- Allow it to dry thoroughly before wearing.
Fine-Tuning and Final Touches
Once your lapel pin is dry, inspect it for any imperfections. Trim any excess material, touch up any paint, and ensure the pin back is securely attached. Consider spraying the finished product with a light coat of varnish for added protection.
Conclusion
Creating your own lapel pins is not only a fun and rewarding DIY project but also a fantastic way to showcase your creativity. With the range of materials and methods available, there’s no end to the unique pins you can create. Whether you’re making them for personal use, gifts, or even starting your own small business, this guide provides a solid foundation.
Embrace your imagination and happy crafting!
FAQs
How long does it take to make a lapel pin?
Depending on the materials and methods used, creating a lapel pin can take anywhere from an hour to several days, factoring in design time, drying periods, and finishing touches.
Can I use household items to make lapel pins?
Absolutely! Many household items like shrink plastic from food containers, nail polish for coloring, and old buttons can be repurposed into beautiful lapel pins.
What if my design is too complicated to cut by hand?
For intricate designs, consider using a digital cutting machine like a Cricut or a laser cutter. These tools can precisely cut out detailed shapes and patterns.
How durable are DIY lapel pins?
The durability depends on the materials used. Adding a resin coating and using strong adhesives can significantly increase the lifespan of your pins.
Where can I find more resources on how to make lapel pins?
For more advanced techniques and professional tips, this how to make lapel pins tutorial is an excellent resource.
What are the costs associated with making lapel pins?
Depending on the materials and tools you already have, you can start making lapel pins for as little as $0.50 per pin. If you want to take it a step further and get free price quotes for top-quality, custom-made pins, you can visit this page for a custom lapel pin quote.


